How To Make Sushi

May 14, 2021

I absolutely love sushi!
Have you ever tried making your own sushi rolls? It’s actually pretty easy once you’ve had a little bit of practice! Follow my instructions below and you’ll be making your own rolls in no time.
I recommend using sushi rice or try brown rice for a little extra fibre.
Sushi Rice Recipe
Prep time: 5 mins
Cook time: 20 mins
Total time: 25 mins
Makes: 8 rolls
Dietary Preferences: Vegetarian option, Vegan option
Ingredients:
2 cups of uncooked sushi rice
3 cups water
¼ cup rice vinegar
1 ½ tsp salt
8 sheets yaki nori
Filling ideas
Chopped vegetables (like carrot, cucumber, spring onions, capsicum or mushroom)
Seafood, such as tuna, fresh salmon or cooked prawns
Mango and avocado
Tofu and bean sprouts
Shredded red cabbage
Sun-dried tomato and cream cheese.
Preparation:
Rinse the uncooked rice thoroughy in cold water until the water runs clear through the rise. For the best texture, let the rice soak for at least 30 minutes after rinsing.
Cook the rice in a saucepan on the stove. Use one and a half cups of water for each cup of rice (so for 2 cups of rice you'll use 3 cups of water). Take the rice off the heat once cooked. Alternatively, you can cook the rice in an electric rice cooker.
To make the rice sticky, mix together the rice vinegar and salt, then quickly stir it through the prepared rice. The rice should become sticky as it cools down, which helps get the texture right for making nice firm sushi rolls.
Prepare any fillings you want for each of your rolls and set them aside while you get your rolls ready.
How to roll sushi:
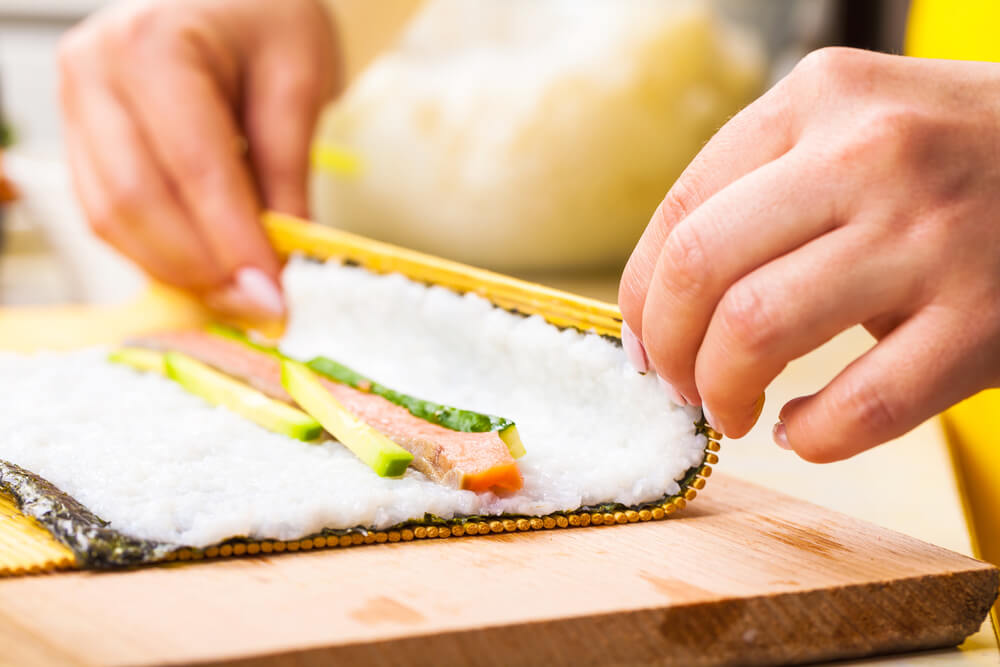
Grab a bamboo mat (or a thick tea towel will work just as well) and cover it with plastic film. Lay out a piece of nori (dried seaweed) shiny side down, place a thin layer of rice on top of two-thirds of the nori and pat it down. It’s best to use damp hands for this job, otherwise the rice may stick to you!
Lay out the fillings in a straight line on top of the rice, about one-third of the way down the rice layer. If you want to drizzle any sauce or dressing over the filling, do that now.
Take the bamboo mat and pull the bottom (the section with just rice) over the top of the filling, making it nice and firm. Keep rolling, pushing the mat forwards as you go. Try to keep the rolls as tight as possible, rolling and shaping at the same time.
When you’ve rolled the whole thing, press the roll firmly so that the nori sticks at the ends, sealing the roll.
Sushi is fun to make and healthy too
It will take a bit to get it right, so don’t worry if you have to unroll and then re-roll!
Once you’ve shaped the rolls, pop them back in the fridge for a little while to firm them up.
When you are ready to eat them, use a sharp knife to cut the roll into pieces, and serve it with wasabi, pickled ginger or soy sauce.

I’m Kayla Itsines, co-founder and head trainer at Sweat! I’ve been a certified personal trainer since 2008 and am also certified in pregnancy and postnatal exercise. My goal has always been to empower women by giving them the practical tools they need to improve their health and fitness and feel more confident.
* Disclaimer: This blog post is not intended to replace the advice of a medical professional. The above information should not be used to diagnose, treat, or prevent any disease or medical condition. Please consult your doctor before making any changes to your diet, sleep methods, daily activity, or fitness routine. Sweat assumes no responsibility for any personal injury or damage sustained by any recommendations, opinions, or advice given in this article.
Nutrition