How To Use Gym Equipment (With Confidence!)
Confused by the Smith machine, cable machine, leg press or even the squat rack? We’ve got you.

August 16, 2019 - Updated July 9, 2025
The first time you step foot in a gym can be a lot. All the people. The loud music. All these weird contraptions. Even as a seasoned gym-goer, seeing a new piece of equipment in your program (or moving from free weights to machines) can be enough to make you want to turn around and go home again.
Don’t go home. Take a breath. And remember that no matter how confident the people around you look, they all had a day one. Here’s a step-by-step guide to some of the most common AND confusing pieces of equipment in the gym. Spoiler: they’re all a lot more simple than you think.
With every piece of equipment, adjust the machine to your body and fitness level, going lighter rather than heavier to start with, focusing on your form and always leaving the machine how you found it.
Put your weights away, wipe down any sweat and take your belongings with you. If you’re ever confused, every exercise in the Sweat app has a helpful demo vid and a diagram to show which muscles it should be working.
Lat pulldown machine
The parts: When working out on a lat pulldown machine, you’ve got three key parts - your seat, your weight stack and pin, and the bar.
The bar: Usually the bar is in a bent T-shape and will have multiple textured grip spots for narrow and wide grip lat pulldowns - use whatever grip matches the exercises in your workouts or what feels most natural for your body. If the bar feels slippery, there are usually small grip pads available or you can use chalk or your own grips.
The weight stack and pin: In the weight stack, you should be able to see a line of holes with an adjustable pin. All you need to do is pull the pin out and move it to a different place in the stack to change the weight. Always move the pin when the machine is stationary and all the weights in the stack are connected, not mid-rep.
The seat: You’ll sit facing the weight stack with your feet flat on the floor on either side. A lat pull machine usually (but not always) has thigh pads that you can adjust to sit snugly on top of your legs so you’re staying flat on the seat with each rep. There’s usually a small handle or lever to adjust these.
Once you’re comfortable and have everything adjusted to a position and weight you’re happy with (feel free to start light if it’s your first time), simply reach up, grip the bar with your palms facing away from you, then slowly pull the bar down towards your chest, squeezing your lats and shoulder blades until it’s roughly level with your chin. Then, slowly return the bar to the starting position with control, making sure you don’t let the weight plates crash together and repeat.
Each rep should be nice and controlled with upright posture, so if you need to use a lot of momentum and lean back to pull the bar down, go lighter.
Cable machine
The free-motion dual-cable machine can be used to work out almost any part of your body with a variety of resistance exercises thanks to multiple attachments and clips. It uses a pulley system and stacked weights which you can adjust by placing the pin in the weight stack just like the lat pulldown machine.
The parts: The main things you’ll be adjusting are the pin-loaded weight stack, the attachment and where the attachment sits on the pulley.
The weight stack and pin: Simply pull the pin out and move it up or down to change the weight. If there are two weight stacks on your machine, you can use it to perform exercises where you hold two handles and move both at once, like chest flys or chest press!
The attachment: There are plenty of cable machine attachments for different exercises, such as a rope, handles, bars or ankle straps. Simply release the clip, take off the attachment, and put on what you need.
The pulley: Finally, you may need to move the attachment up or down on the pulley. For glute kickbacks or any seated exercises, you’d need it positioned at the bottom, compared to an overhead tricep extension where you’d need it near the top. Look for a release mechanism (often a lever or pin), on the cable's pulley carriage which you can pull or press, then move the carriage up or down to your desired height.
Try the cable machine for exercises such as pull downs, face pulls, chest fly, upright row, tricep extension, bicep curls, kickbacks, hamstring curls and standing trunk rotations like the ‘woodchop’. You can check out our full guide to using a cable machine here.
Cardio machines: treadmill, rower, ski, stairclimber, bike
If you’re used to doing all your cardio outside, using a cardio machine can even be daunting with all their buttons and settings. You’ll find each machine usually comes with a screen to display different measurements such as speed, distance and calories burned, but here’s your quick guide to each piece of cardio equipment:
Treadmill: We’ll be honest - a treadmill can be super simple or very complicated depending on how fancy it is, but there’s usually a clear start button, up and down arrows to change the speed, settings to increase the incline if you’d like to run uphill, and stop or pause buttons that you can use whenever you need to.
Rower: Sit in the seat, put your feet in the shoe grips (adjust them to fit your feet if necessary), tighten the straps, then grab the handles and begin your rowing motion. If you want to change the resistance, move the damper lever on the side of the machine up or down.
Ski: Similar to a rowing erg, a ski machine has a damper lever you can move up or down to change the resistance. Then simply grab hold of the handles and pull down to begin your skiing movement.
Stairclimber: This one burns and mimics walking up a staircase, except it never ends. Click start, set the pace, and use the handles for support if you need!
Bike: Perhaps the most simple of all, you can just get on and ride it like a bike and change the resistance up or down with the damper lever, buttons or a twisting handle depending on the bike.
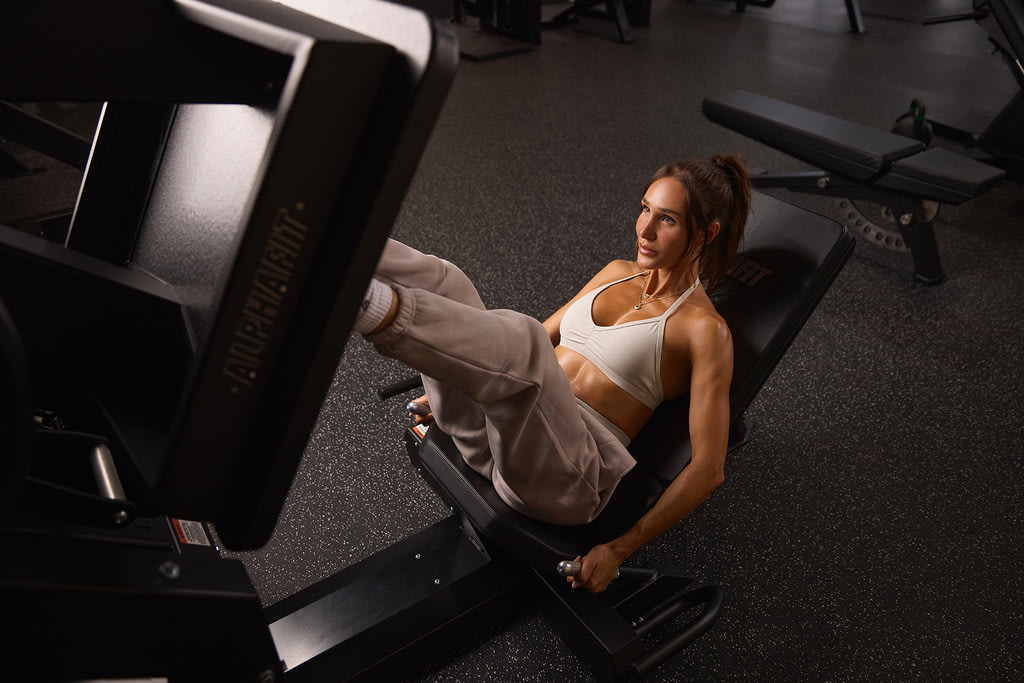
Leg press machine
The leg press machine is a great way to challenge yourself with heavy weights without your spine needing to support the movement like you would in a heavy squat, which can result in poor form or increased risk of injury. There are many different leg press machines so don’t be afraid to ask a staff member for assistance if you need a quick walk-through.
The parts: You’ve got an adjustable seat, a pin-loaded weight stack (or bars for you to add weight plates to) and a foot platform.
The weights: Simply remove the pin and move it up and down in the stack, or add and remove weight plates to your heart’s desire.
The seat: You want to position yourself so your legs are bent towards your chest when they are flat on the platform to allow you a full range of motion to push away, so adjust your seat if you need to.
The foot platform: Some leg press machines have a level platform and seat, meaning with each rep it’s like you’re pressing the platform towards the wall in front of you. Other machines are positioned on an incline, meaning you’ll be lying back and pushing the platform on an upwards diagonal angle. Placing your feet hip-width apart is standard, but you can go narrow or wide to focus on different muscles.
The safety handles: Incline leg press machines usually have safety handles which you’ll need to unlock and relock after your reps. Usually you sit down, press the foot platform slightly with your feet, rotate the handles to unlock them, then rotate them back into place at the end.
Remember to keep a slight bend in your knees with each rep and never full lock out as this can increase your risk of injury, and only let the weight stack come fully together (or relock the handles on an incline machine) once you’ve completed all the reps in your set.
Barbell and squat rack
A barbell is an amazing tool to use in your strength training journey, but if you’ve been using it on its own for exercises like deadlifts or bent over rows, we really encourage you to say hello to the rack as well! It’s super simple and opens up a whole new world of powerful exercises such as back squats, front squats and bench press.
The parts: You’ve got your barbell, your plates, rack (the metal posts full of holes) and your hooks (aka J-Cups) to hold the barbell.
The hooks: To move the J-Cups to a different height, simply rotate it upwards away from the rack, slide the peg out of the hole, insert the peg into the new hole where you’d like it to sit, then rotate it downwards towards the rack to lock it in place. Repeat on the other side (unless you want a wonky barbell). For back or front squats, you want the hooks about shoulder height or just below, and for bench press you want your arms to be slightly bent when you reach up and grab the bar to allow you to push it up out of the hooks with ease.
The barbell: Gyms often have a selection of barbells, which are usually either 15 or 20kg in weight. Choose whatever you prefer and lift it to sit in the hooks.
The plates and clips: Slide the same plates onto each side of your barbell when it’s sitting in the rack, before sliding on clips for safety to prevent the plates from moving around.
Assisted pull-up machine
Pull-ups are one of the hardest exercises due to the amount of core and upper-body strength they require. You can build towards your first unassisted pull-up by using the lat pulldown machine, using a long resistance band for support, or using an assisted pull-up machine. As you get stronger, you’ll be able to decrease the offset. Take it slowly and only do as many reps as you can complete while maintaining the correct good form.
The parts: The key parts of this machine are the pin-loaded weight stack, the knee pad and the handles.
The weight stack: When the machine is stationary, remove the pin and move it up or down to change the weight.
The knee pad: Unsurprisingly, this is where your knees go and combined with the weight stack, will provide you a sense of being boosted up in each rep.
The handles: Reach up, hold on with an overhand grip, and pull your body up to bring yourself to the top of the machine before slowly lowering with control to the starting position.
Smith machine
The Smith machine is a bar that moves within fixed steel rails. It’s an alternative to using free weights or barbells and can feel safer for those who are new to lifting due to the support of the rails, which prevent you from swaying forward or back. The Smith machine can be used for exercises such as squats, a bench press, shoulder press, deadlifts and split squats.
When using the Smith machine, make sure you set the bar at the right position on the rack for your chosen exercise as you would with a squat rack, at a weight you can complete all of your reps with good form (or feel free to use just the barbell!).
Leg extension machine
This looks like a seat with a cushioned cylinder where your legs hang down. You’ll take a seat, tuck your legs behind the leg pad, and then extend your legs to lift the pad up and down.
The parts: With a leg extension machine you’ve got the seat, the leg pad and the pin-loaded weight stack.
The seat: You should be sitting upright with your back flat against the seat, so adjust it if you need to - there’s usually an easy to spot handle or lever to move it. There are often two handles next to the seat which you can hold onto during your reps which can provide a helpful gauge of if your seat is in the right spot or not.
The leg pad: This should sit just above your ankles (not on top of your feet or near your knees) and can be adjusted too.
The weights: When the machine is stationary, remove the pin from the stack and move it up or down to change the weights.
Use gym equipment with confidence!
Gym machines really aren’t as complicated as you think! Once you get started, you’ll realise they’re the opposite of scary - they can actually be fun. If you're new to working out in the gym or are looking for support, we encourage you to join the Sweat Community, which is full of like-minded women sharing their workout tips and encouraging each other to achieve their fitness goals.
Remember, the more you do something, the more comfortable and confident you’ll start to feel. If you’ve been thinking about trying gym machines, instead of thinking “one day…”, make today day one. You’ve got this!
A more empowered you starts with Sweat, and our editorial team is here to bring you the latest fitness tips, trainer recommendations, wellbeing news, nutritional advice, nourishing recipes and free workouts.
* Disclaimer: This blog post is not intended to replace the advice of a medical professional. The above information should not be used to diagnose, treat, or prevent any disease or medical condition. Please consult your doctor before making any changes to your diet, sleep methods, daily activity, or fitness routine. Sweat assumes no responsibility for any personal injury or damage sustained by any recommendations, opinions, or advice given in this article.
Fitness